
REVIEW · HARDANGERFJORD AND TROLLTUNGA
Trolltunga: Trolltunga Summer Hike
Trolltunga turns a long walk into a real story. This guided hike pairs tough terrain with big views over Ringedalsvatnet and the far-off Folgefonna Glacier, plus guide-led breaks and photo help that keep the day feeling organized.
I especially like how the plan starts with shuttle time saving from P3, so you spend more energy on the hike instead of logistics. I also love the photo angle options, including the special needle view when conditions allow.
The main catch is the day is still long, and the hike can run 9-12 hours depending on the season and conditions, so you need a fit body and patience for cold, wind, or slippery ground.
In This Review
- Key things that make this Trolltunga hike worth it
- Why Trolltunga feels like Norway’s ultimate “view on the edge”
- Getting to P2 and starting smart at P3
- The long hike rhythm: snacks, viewpoints, and steady motivation
- Ringedalsvatnet and the valley below: why you’ll want more than one pause
- Folgfonna Glacier on the horizon: the distant bonus
- Standing on Trolltunga: what it feels like and how the photos work
- The guide makes the day: stories, breaks, and names to remember
- Price and value: what $183 buys you on a long day
- What to pack so the day stays fun, not miserable
- Who should book this, and who should skip it
- Should you book the guided Trolltunga hike?
- FAQ
- How long is the hike?
- Where do I meet the guide?
- Is the shuttle bus included?
- What gear is included for the hike?
- Are meals and drinks included?
- Is free cancellation available?
Key things that make this Trolltunga hike worth it
- P2 to P3 shuttle saves your legs before the main climbing starts
- Expert-led photo time, including the needle view on Trolltunga when conditions allow rappelling down
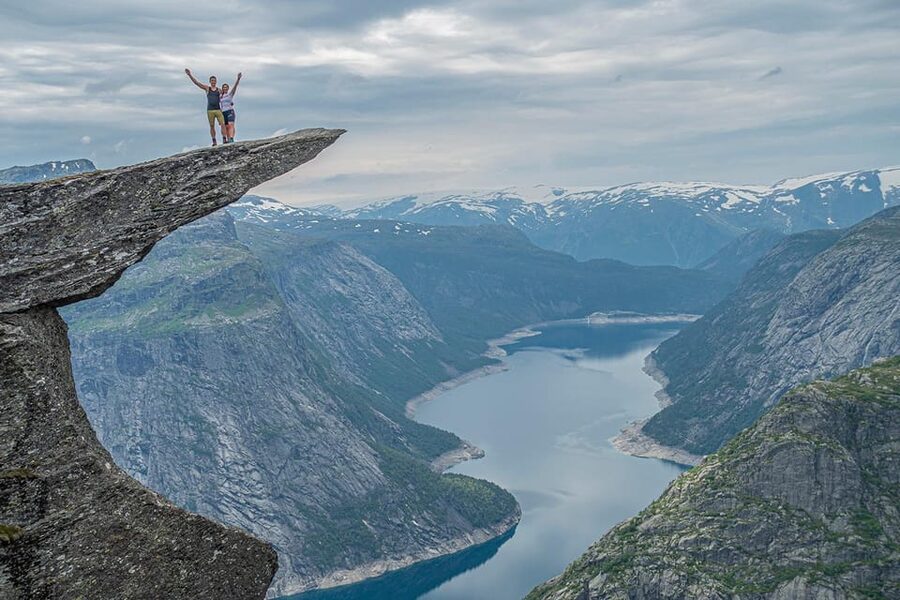
- Serious viewpoint payoff: Trolltunga sits about 700 meters above the valley
- Ringedalsvatnet views show up along the way, not just at the top
- Gear support on tricky days, with microspikes or snowshoes if needed
- Guides who tell local stories, from plant details to mountain lore, not just directions
Hardanger orchards onward to the Trolltunga ledge
- Odda: Full-Day Trolltunga Hiking, and Climbing Tour★ 4.8 · 95 reviews
- Trolltunga: Trolltunga Summer Hike★ 4.9 · 32 reviews
- Trolltunga: Trolltunga Sunset Glamping★ 4.9 · 15 reviews
- Odda: RIB Boat Tour on the Hardangerfjord★ 4.2 · 12 reviews
Why Trolltunga feels like Norway’s ultimate “view on the edge”
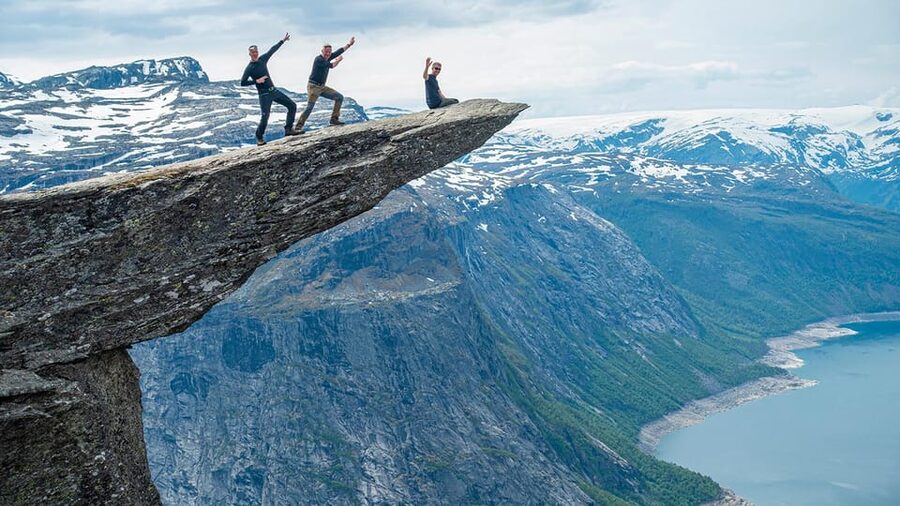
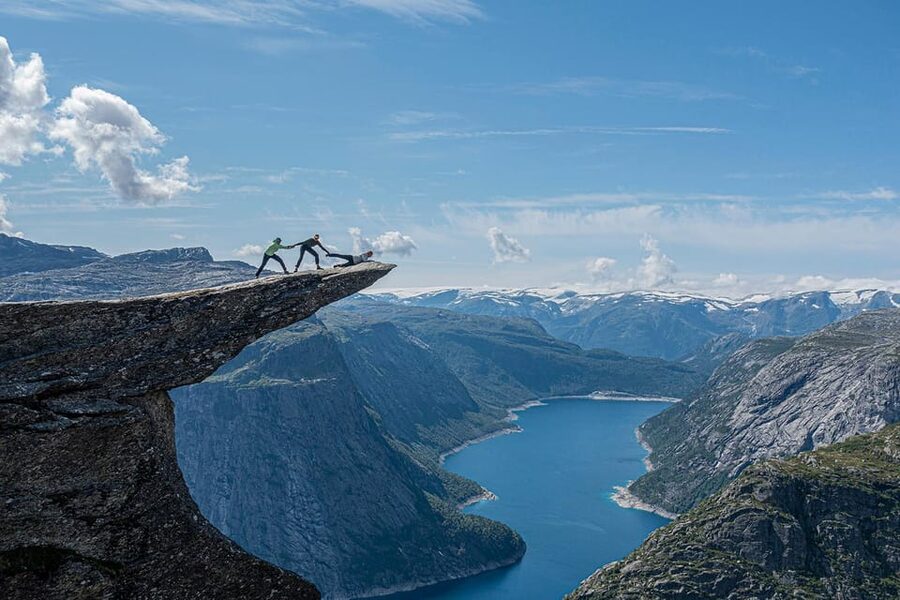
Trolltunga is famous for a reason: that rock formation peeks out high above the valley, and once you’re there, you get the kind of scale that makes your brain go quiet. The payoff is not just the tongue-shaped rock, it’s the whole sweep of scenery as you gain elevation.
In clear weather, you also get the striking blue of Ringedalsvatnet, plus the distant shape of the Folgefonna Glacier. Even when visibility is mixed, the hike still has that steep-valley drama at several viewpoints, where you can pause, catch your breath, and actually understand what you’re walking into.
Getting to P2 and starting smart at P3
You meet at Trolltunga Active Base, right by the P2 parking in Skjeggedal. From there, the big time saver is the shuttle bus from P2 to P3 (and back, when weather allows), so you begin the hardest part with less wasted energy.
Here’s the practical advice: treat this as a hiking start, not a hotel pick-up day. The transport support is described for moving between the P2 and P3 points, so you should plan on getting to P2 on your own.
Once you’re at P3, you’ll start working through the uphill. The terrain is tougher at the beginning, and it becomes milder later on, which helps once your legs stop questioning your life choices.
The long hike rhythm: snacks, viewpoints, and steady motivation
This is not a quick photo walk. The full day is listed around 10 hours, but the real hike time can run 7-9 hours, and the longer “rest of the summer trail” timing can push 9-12 hours. That variability is normal here, because conditions change with season and weather.
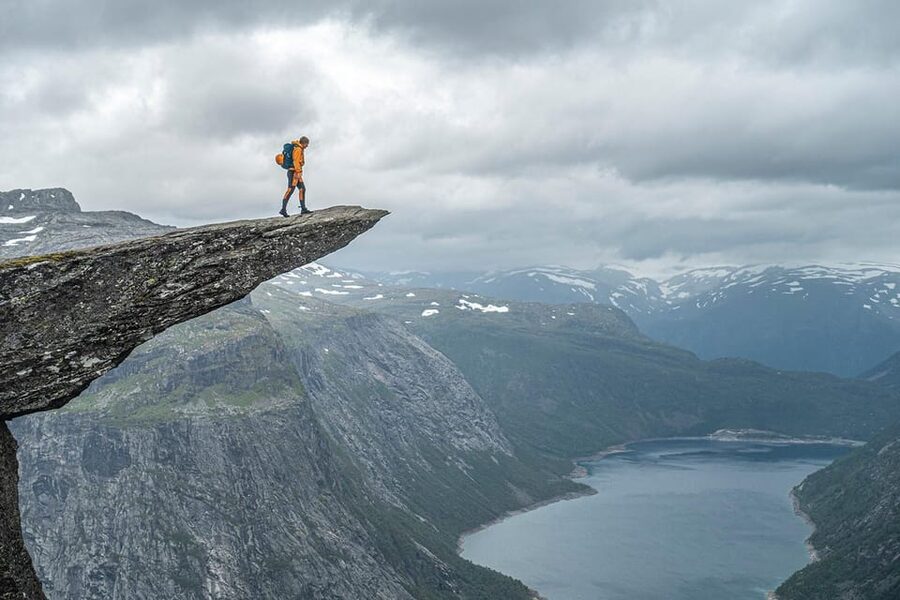
Along the route, you’ll hit multiple viewpoints where the valley steepness becomes obvious. You’ll also get several small stops for snacks and drinks, which matters more than it sounds. On this kind of hike, a quick bite at the right time beats a full crash later.
What makes the day easier mentally is the guide role. Guides don’t just point; they motivate and keep you moving with local knowledge about nature and history. In the best moments, they also help with timing your best photos without turning the day into a chaotic line shuffle.
Boot-leather rivals on Odda paths
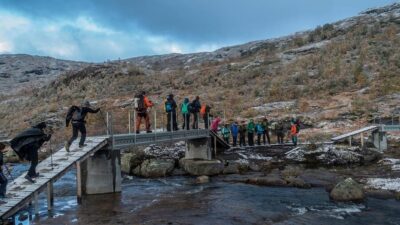
Ringedalsvatnet and the valley below: why you’ll want more than one pause
You won’t just see Ringedalsvatnet once. The route is built around gradual gains that give you repeated chances to look down into the valley and out to the lake. Those repeated viewpoint moments help you measure progress, and they keep the hike from feeling like one long tunnel of effort.
When the light hits the water, Ringedalsvatnet can look dramatically blue. Even if it’s not bright and perfect, the glacier and lake presence still adds depth to what you’re walking through. And at several stops, the valley gives you that instant perspective of how high Trolltunga really sits above everything below.
If you get even slightly winded, treat it as a signal to use one of the planned breaks. This hike rewards steady pacing more than speed.
Folgfonna Glacier on the horizon: the distant bonus
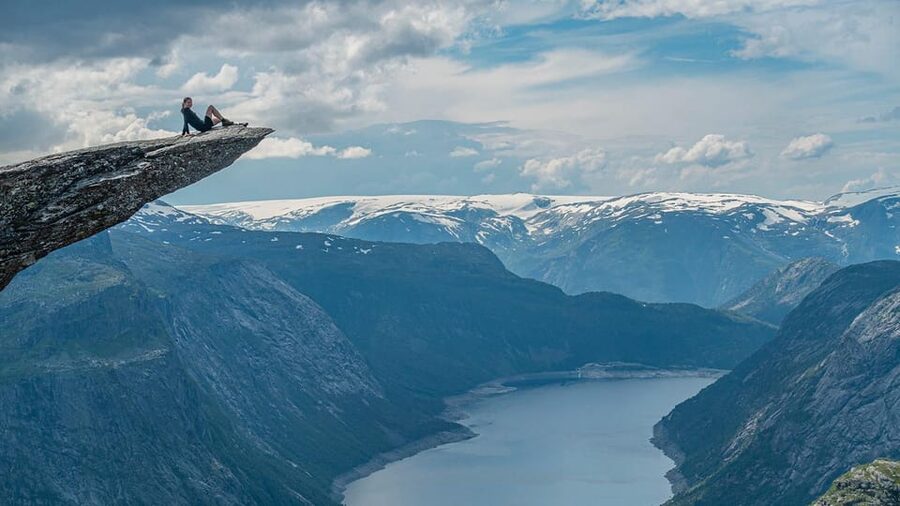
One of the quieter but memorable benefits is seeing Folgefonna Glacier far in the distance. It’s not the main event like Trolltunga itself, but it adds a sense of scale, linking your walk to a larger Norwegian ice-and-mountain system.
If the sky is clear, it’s a great “check your bearings” visual. If the weather is hazy, it still helps to know that the glacier is there in the background, so you’re not just hiking toward a rock with no context.
Standing on Trolltunga: what it feels like and how the photos work
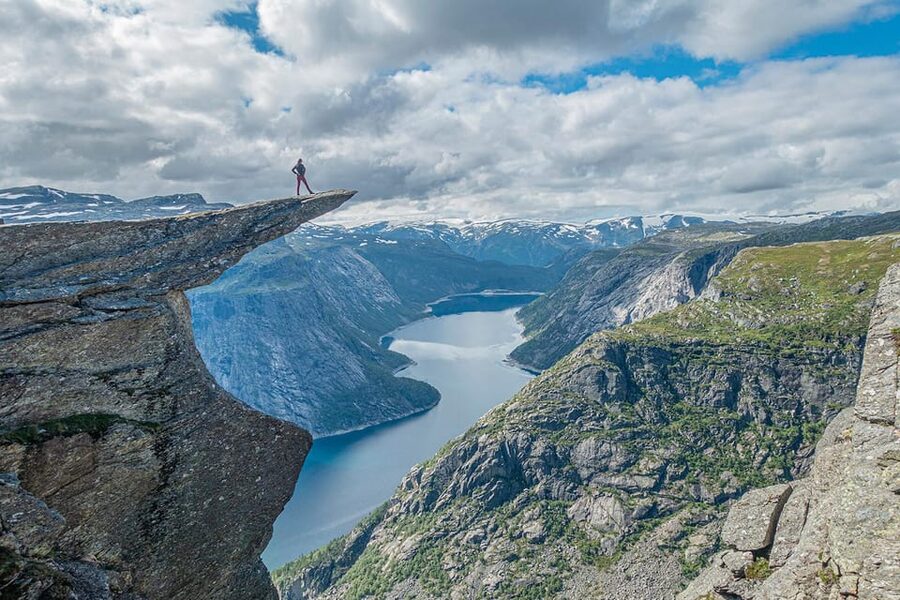
At the top, you reach the famous rock formation that peeks out about 700 meters above the valley. This is the moment most people come for, and it’s also the moment where the guide’s skill really pays off.
You’ll get time at Trolltunga itself, not just a quick handoff. And because photography is part of the experience, guides help you position for the best shots. The plan includes special photos with a needle view from Trolltunga, available on guided tours when weather conditions allow rappelling down.
There’s also a practical detail that you should be ready for: your guide may abseil down to get the best angles for your photos, meaning safety gear is part of the setup and you should listen carefully during instructions. If heights make you tense, take that as a cue to stay focused, use the guide directions, and don’t rush your own comfort level.
Either way, you’ll come away with the signature image that made Trolltunga famous, plus a sense that you understood what you were looking at, not just where the camera angle was.
The guide makes the day: stories, breaks, and names to remember
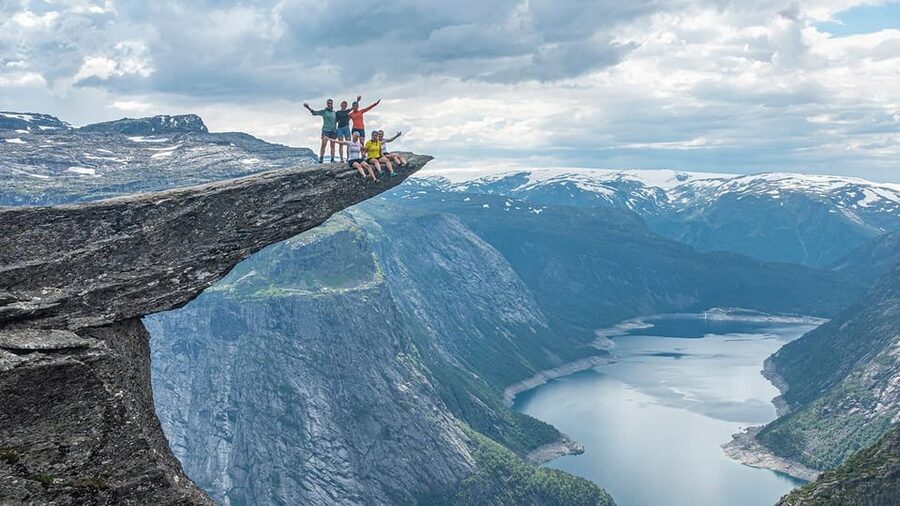
What consistently elevates this hike is the guide style. They carry safety and first aid equipment, plus they act as storyteller and motivator. That combination matters on a long day, because it turns the hike from a checklist into a shared experience with a beat you can follow.
I’ve seen this work especially well in guides like Anke, who people praised for kindness, welcoming energy, and a strong handle on hike conditions, weather, and local lore. Another guide called out was Marty, recognized for being conversational and good at working with the group, including getting people to the right spot for the Trolltunga photo moment. Barbara also came up for being professional and fun.
Even when the hike is physically hard, you’ll usually feel less stressed because the guide builds structure into the day. The planned snack stops, the repeated viewpoints, and the photo timing all help you stay in rhythm.
Price and value: what $183 buys you on a long day
At about $183 per person for a roughly 10-hour experience, this hike isn’t cheap, but it’s also not trying to be a low-cost cram session. You’re paying for:
- A professional guide with safety and first aid equipment
- Hiking poles included
- Potential traction help (microspikes or snowshoes if needed)
- Help with photos the whole way, including special Trolltunga images when conditions allow
- Shuttle support between P2 and P3 when weather allows
- Local nature and history context
That’s the value equation. You’re not just buying access to the trail. You’re buying time management, safety support, and photo competence, which can be hard to replicate on your own when the day is long and conditions shift.
The biggest value decision for you comes down to your confidence on long, changing terrain. If you want a guide to manage pace, stopping points, and photo timing, you’re likely to feel the price makes sense.
What to pack so the day stays fun, not miserable
This hike runs long and the weather can change fast. Pack like you’re preparing for a hike that might be colder and wetter than you planned.
Bring:
- Comfortable hiking shoes (and expect you might need more grip if conditions are rough)
- Warm clothing and a waterproof shell jacket
- A mid layer
- Rain gear
- Water, with 1.5 liters suggested (and you may be able to refill at some spots)
- Snacks and a lot of food, like sandwiches, nuts, chocolate, or fruit
- A backpack around 35 liters capacity
- Sunglasses and sunscreen, plus a cap or hat
- A camera
If rain and low temperatures are forecast, the extra cold-weather kit is important: wool base layer (avoid cotton), windproof shell pants, spare socks, gloves, and a beanie or headband.
One more practical note: meals and drinks are not included, so your food plan is your job. Treat it seriously, especially for a long day where the guide stops are short and frequent, not full meal breaks.
Who should book this, and who should skip it
This is best for people who are comfortable with a long day on foot and can handle steep sections early on. The terrain becomes milder later, but the start is still a real workout.
It’s not suitable for:
- Pregnant women
- People with heart problems
- People with low level of fitness
If you’re a solo hiker or coming as part of a small group, this is also a strong choice because the guide helps keep you on track and delivers that photo moment efficiently.
If you hate surprises, keep an eye on season timing. Microspikes or snowshoes might be required early or late in the season, so plan for traction support even if you think you’re coming in summer.
Should you book the guided Trolltunga hike?
I’d book it if you want the famous Trolltunga viewpoint with real structure: shuttle help to save legs, repeated scenic pauses, guide-led storytelling, and a photo plan that includes special needle-view shots when conditions allow. The guides also make safety and timing feel handled, which matters when the day runs long.
I’d think twice if you’re looking for a short, relaxed outing, because this is a serious hike with long timing and varying conditions. Also, if you have any fitness or health concerns that match the not-suitable list, you should skip it and choose a different Norway hike.
If you’re ready for a full day, bring the food and cold-weather gear, and go with the guide, this is one of those hikes that rewards effort with views that feel worth the long walk.
FAQ
How long is the hike?
The total experience is listed at about 10 hours. The hike itself can take 7-9 hours, and the full summer trail time can run longer, around 9-12 hours depending on conditions.
Where do I meet the guide?
Meet at Trolltunga Active Base, right next to the P2 parking in Skjeggedal.
Is the shuttle bus included?
Transport from P2 to P3 and back is included if weather conditions allow it. You’ll also use the shuttle bus to start the hike at P3 and save time and energy.
What gear is included for the hike?
You get a professional guide, hiking poles, and traction support if needed, such as microspikes or snowshoes. Guides also carry safety and first aid equipment.
Are meals and drinks included?
No. Meals and drinks are not included, so you’ll need to bring your own snacks and food.
Is free cancellation available?
Yes. You can cancel up to 24 hours in advance for a full refund.
Boot Leather Across Odda
More Tour Reviews in Odda
Hardanger Onto the Ledge
Newest Odda write-ups off our Norway desk
- Trolltunga Autumn Hike Go Viking
★ 5.0 · 4 reviews - Odda: RIB Boat Tour on the Hardangerfjord
★ 4.2 · 12 reviews - Trolltunga: Trolltunga Sunset Glamping
★ 4.9 · 15 reviews - Trolltunga: Trolltunga Summer Hike
★ 4.9 · 32 reviews - Odda: Full-Day Trolltunga Hiking, and Climbing Tour
★ 4.8 · 95 reviews
More in Hardangerfjord and Trolltunga.
 ★ 4.8From Eidfjord: Vøringfossen Waterfall Nature Tour with GuideFrom $105890 reviews
 ★ 4.9From Bergen: Folgefonna National Park & Glacier Lake TourFrom $222589 reviews
 ★ 5.0Bergen Day Tour to National Park Folgefonna and Glacier LakeFrom $228408 reviews
 ★ 4.3Bergen: Cruise to beautiful Rosendal by the HardangerfjordFrom $91328 reviews
 ★ 4.8Bergen: Waterfalls of Hardangerfjord Shore ExcursionFrom $101268 reviews
 ★ 4.9Eidfjord: 1-Hour Fjord RIB TourFrom $83215 reviews
 ★ 4.8Odda: Full-Day Trolltunga Hiking, and Climbing TourFrom $20695 reviews
 ★ 4.9From Norheimsund: Hardangerfjord & Fyksesund RIB Fjord TourFrom $10791 reviews
Lists this one sits in