
REVIEW · GEIRANGERFJORD TOURS
Geiranger: Sky to Fjord Downhill Biking Adventure
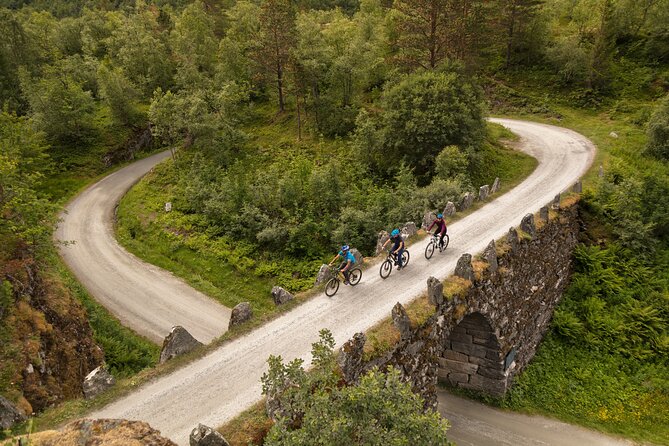
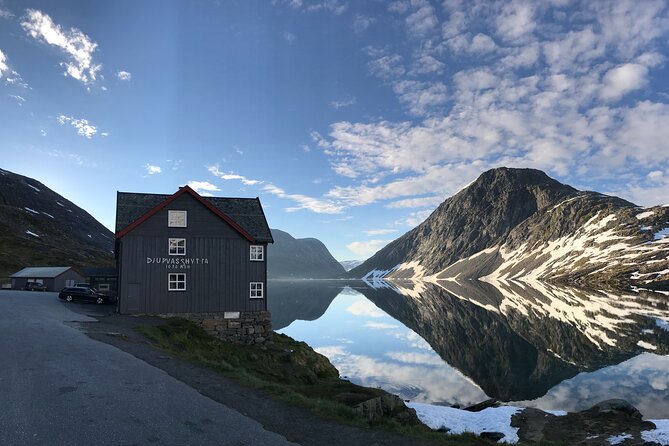
One downhill run, and Geiranger grabs you. This Sky to Fjord ride starts at Djupvatn Lake at 1030 m and then drops you on a 16 km coast through viewpoints like Flydalsjuvet. I like that the included bike and safety gear let you focus on fun, and I also appreciate that you get transported up so your energy goes into the descent. The one drawback to keep in mind is that the downhill portion is unguided, so you handle your own pace and road awareness.
You’ll stop at the foot of Blåfjell, Kvandals waterfall, Opplenskedalen Valley, Knuten, and Flydalsjuvet, which turns the ride into a moving viewpoint tour. The run feels steep and fast in spots, but it fits riders with moderate fitness because the hardest part is brief. If you’re nervous, you can even pause, walk a small uphill stretch, and keep going when you feel ready.
In This Review
- Key things to know before you ride
- Djupvatn Lake to Geiranger: the core downhill thrill
- The viewpoint stops: where the ride turns into a photo route
- Bikes, helmet, vest: what’s included and what to check
- Unguided downhill: freedom, plus your responsibility
- Geiranger road realities: sharing space with buses
- Price and value: is $160.09 worth it?
- Timing, duration, and how to get the most out of 2 hours 30
- Who this downhill bike ride suits best
- Should you book the Geiranger Sky to Fjord downhill bike ride?
- FAQ
- How long is the Geiranger Sky to Fjord downhill biking adventure?
- Is there a guide riding with you during the downhill?
- What bike and safety equipment is included?
- Do they provide transportation to the biking starting point?
- Where do I meet, and where does it end?
- How far do you ride downhill?
- What physical fitness level do I need?
- What happens if weather is poor?
Key things to know before you ride
- Djupvatn Lake starting point (1030 m): you’re driven up before you start coasting, so the work is mostly the climb you avoid on the bike.
- 16 km downhill with planned stops: you get photo breaks at several named viewpoints, not just a nonstop sprint.
- Unguided downhill means self-management: you’ll get instructions before you set off, then you ride on your own.
- Small group size (max 6): the setup feels more personal and less like a cattle line.
- Equipment is included, but do a quick check: one bad experience involved sizing and braking issues, so confirm seat height and that braking feels right before rolling.
- Traffic is part of the experience: one ride description notes the road lacks a shoulder or bike path, with buses close by, so ride defensively.
Geiranger seen from higher hairpins
- Geiranger Shore Excursion: Mt. Dalsnibba and Eagle Road★ 4.5 · 718 reviews
- Geiranger: RIB Fjordsafari Geirangefjord★ 4.5 · 651 reviews
- Guided Boat Tour in Geiranger★ 4.5 · 147 reviews
- Geiranger: Excursions.no Mount Dalsnibba & Eagle’s Bend★ 4.5 · 101 reviews
Djupvatn Lake to Geiranger: the core downhill thrill
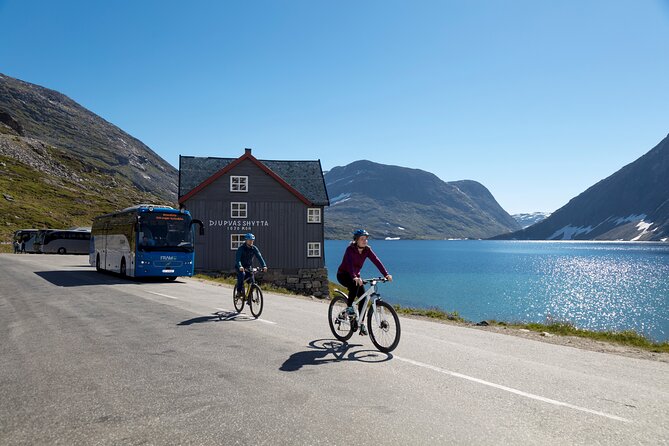
The heart of this adventure is the steep, scenic coast from the Djupvatn Lake area down toward Geiranger. You do not start at street level. You get driven up to the top, which matters because it changes the whole feeling of the activity. Instead of spending your vacation energy grinding uphill, you’re basically there for the moment when the road tilts downward and you get that classic downhill bike rush.
Once you’re set up, your bike ride covers about 16 km. That might not sound like much on a map, but the key is that it’s not flat distance. You’re descending through dramatic fjord-and-mountain terrain, and you’ll have frequent chances to stop. Several riders recommend taking it slow and letting the views land, not treating it like a race.
Two practical details shape how this ride feels. First, it’s unguided once you start. That sounds minor, but it changes your mindset: you’re not waiting for a guide to gesture to the next viewpoint or to pace you through traffic. You’ll get safety and technical instructions before you begin, then you’re responsible for your own brakes, your own line through curves, and when you pull over for photos.
Second, there can be a short section where you pedal a bit uphill. In real life, that’s usually not a fitness test as much as a mental one. If you expected a pure coast the whole way, that one stretch can surprise you. The good news is that it is brief, and some riders simply walked that bit, then remounted once the gradient eased again.
If you like your tours active but not exhausting, this is a strong match. The “work” is mostly about staying alert on a downhill road, not about logging big climbing miles.
The viewpoint stops: where the ride turns into a photo route
One reason this bike trip works so well is that it gives you multiple anchor points along the descent. You’re not just riding downhill through scenery and hoping you’ll remember where to stop. The route includes planned stops at standout locations, so you get that “speed and then pause” rhythm that feels natural on a fjord day.
Here’s what you can expect along the way:
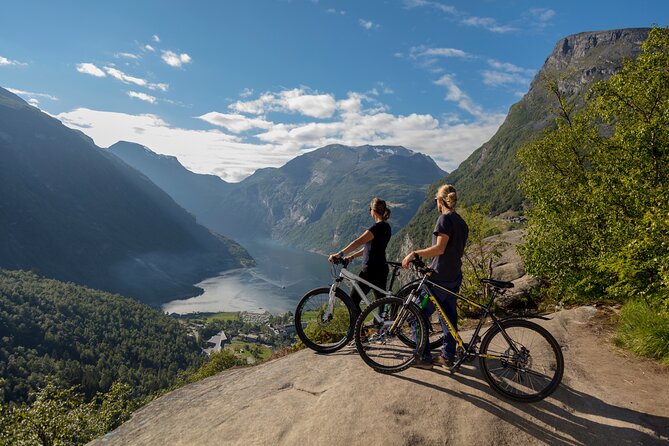
Flydalsjuvet is usually the big one people bring up. It’s a famous spot and for good reason. The surroundings make it easy to slow down, turn your head, and take photos without feeling rushed. If you want the best results, take a moment before you snap pictures to check the light on the water and the angles of the road, because the perspective changes quickly as you move a few steps.
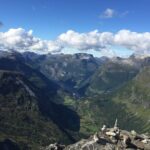
You’ll also stop at Knuten, which adds another perspective on the fjord and the valley below. This is the kind of stop where you get to see how the road threads through the terrain, not just the “pretty postcard” view.
Opplenskedalen Valley brings a broader sense of scale. Valleys like this make the descent feel like part of a larger geographic story, especially when you catch clear weather and strong contrast between mountains and water.
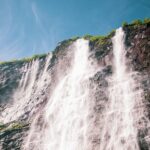
You’ll stop at Kvandals waterfall, which adds motion to the view. Waterfalls are also great for photos because even if the sky is partly cloudy, you still get texture and movement. It’s a nice break from just looking at distance.
Finally, there’s the viewpoint at the foot of Blåfjell mountain. Stops like this are where you can see the descent as a whole, then look back at the line you just rode down. That “from here to there” understanding can make the whole run feel more satisfying.
The best habit I’d recommend is to treat each stop as a mini-reset. If you ride the first chunk too fast, you’ll spend the stops mentally catching up. Ride smooth, then pull over early enough to park your bike safely, take your photos, and settle your breathing before you start again.
Bikes, helmet, vest: what’s included and what to check
The ride includes the big essentials you do not want to scramble for at the last minute: bike, helmet, bicycle gloves, and a visibility vest. You also get an air-conditioned vehicle to take you up and bring you back to the meeting point.
What that means for you is you can travel lighter. You’re not hunting for a helmet rental or trying to fit bike gear to your body size. It also means your only real job is to make sure the bike they hand you feels right.
Based on actual experiences, most riders find the equipment excellent and easy to manage, and the safety instructions help a lot. But because one review complained about sizing, tire tread, and braking feel, I think it’s smart to do a quick, practical check before you roll.
Here’s a simple pre-ride routine:
- Adjust your seat height so you have comfortable leg extension without reaching. If the seat feels too low or too high, fix it right away while you still have staff nearby.
- Test your brakes at walking speed first. On a downhill road, you want predictable stopping power.
- Check tires for general grip. You should feel confidence that the bike can hold in corners and stops.
- Confirm helmet strap comfort and fit. A helmet that will not sit right will get annoying fast.
Because this ride is unguided, you do not have someone riding behind you telling you to tighten straps or slow down. You’re the one who needs things to feel safe and controllable immediately.
One more practical note: if something goes wrong, you’re not stranded without support, but cell service might not be reliable at the top. I’d suggest you make sure you understand how to contact the office or staff before you start riding, so you are not scrambling when you are focused on the downhill.
Saddle rivals across Andalsnes
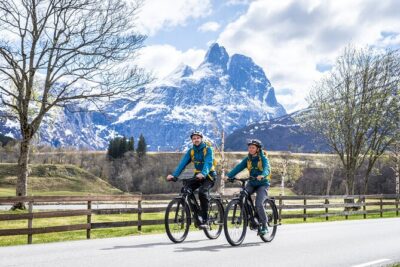
Unguided downhill: freedom, plus your responsibility
Unguided can be a buzzword, but in this case it’s really about how the experience is designed. Staff provide technical and safety instructions, and they give tips to help you ride the downhill at your best. Then once you start, you’re free to set your own pace and handle your own stops.
That freedom is a major perk. Some riders like it because it turns the trip into something closer to a self-paced sightseeing loop. You can stop when a waterfall view grabs your attention, linger at Flydalsjuvet longer than you planned, or take side photos without feeling like you’re always negotiating with a group schedule.
It also suits couples, small groups, and confident solo riders who do not need a leader to tell them when to pedal or when to coast. And for riders who are experienced, unguided can feel empowering, because the road and the views are the show.
But freedom comes with two responsibilities:
- Traffic awareness. You’re sharing the road, and you need to ride as if other vehicles might suddenly appear close to you.
- Your own rhythm. If you push too hard early, you’ll be stressed later. A calmer start makes the stops more enjoyable.
In at least one case, a driver named Marcell was described as gracious when a rider decided not to continue after discovering the road conditions. That detail matters, because it hints that staff are watching the situation, even though they are not physically leading you through every step.
So, take the instructions seriously. Do your safety checks, then enjoy the ride like you own it.
Geiranger road realities: sharing space with buses
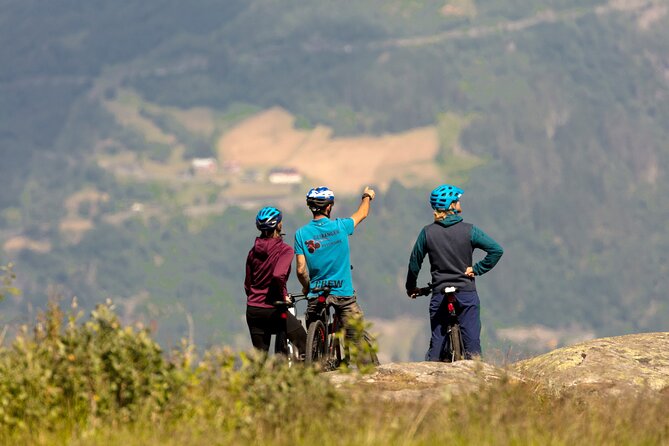
Here’s the part you should take seriously before you fall in love with the idea of biking down: this is not a dedicated bike path the entire way.
One rider specifically noted that the road down had no shoulder or bike path and that you might find yourself riding with large buses passing very close. Another comment in the same spirit said that traffic was accommodating to riders, but accommodating does not mean “risk-free.”
So what should you do with that information?
- Ride predictably. Do not weave, do not accelerate when a vehicle approaches, and keep your line steady through curves.
- Use your stops strategically. Pull off early enough that you are not stopping abruptly right when cars or buses are nearby.
- Assume bigger vehicles will dominate timing. Even if drivers are polite, the size of buses changes the physics of stopping distances and clearance.
If you’re comfortable riding downhill in traffic at home, you’ll likely be fine. If you’re new to biking or you hate feeling close to vehicles, this is still doable for some people, but it requires extra caution and patience.
A good mindset is to treat the downhill as “controlled fun.” You want speed, yes. You do not want panic.
Price and value: is $160.09 worth it?
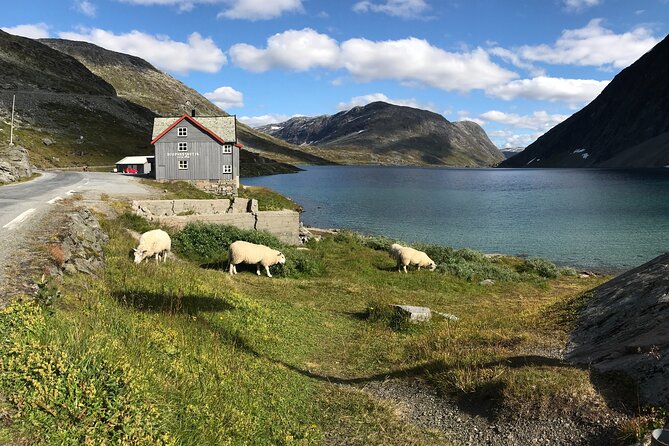
At $160.09 per person, this is not an impulse buy. The key question is whether you get enough real value for the cost.
For me, the best argument for the price is what’s bundled:
- You get transported up in an air-conditioned vehicle, so you skip the biggest effort.
- You get the bike plus safety gear (helmet, gloves, visibility vest).
- You get multiple organized photo stops at named viewpoints along the descent.
- You’re riding one of the most famous scenic roads in the area, and the activity is timed to make that descent the main event.
On top of that, the small group limit of 6 travelers can matter more than you think. When there are fewer people, it’s easier to manage the photo stops and equipment handoffs. It also reduces the “everyone at once” feeling when you start moving.
The less flattering side of the price conversation is that it is not a fully guided, commentary-heavy tour. The downhill ride happens without a guide. That structure is great if you want independence, but if you expected someone leading you the whole way with constant explanations, you might feel the price more sharply.
Still, for many cyclists, the cost lands as fair because you’re paying for transport up, proper gear, and a dramatic descent that would be hard to replicate on your own without logistics.
My rule of thumb: if you want the views and the adrenaline without having to manage bike rental, climbing logistics, and safety setup, this can be worth it. If you want a classic guided tour style where you relax and someone else does all the routing, you might prefer a different format.
Timing, duration, and how to get the most out of 2 hours 30
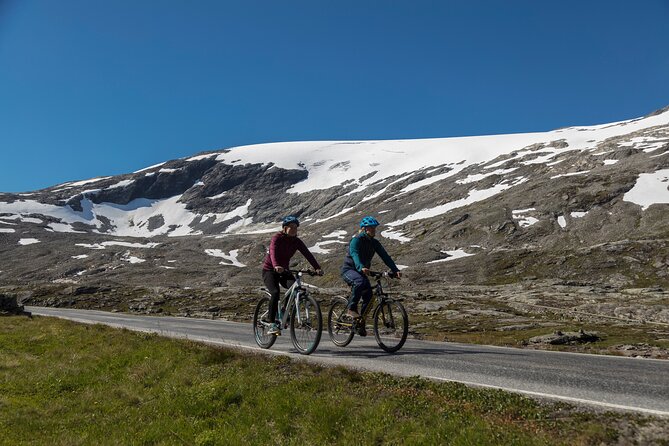
The experience runs about 2 hours 30 minutes total. That time window is long enough to feel like a real activity, but short enough that it fits well into a fjord day when you also want time for walking, viewpoints, or a meal in Geiranger.
Because the downhill is the payoff, you’ll want to arrive ready. This ride is not the place for a casual “we’ll figure it out” mindset. Wear clothes that let you stay comfortable if you get cool wind on the descent, and use a bag approach that keeps your hands free for braking and control.
Also, plan your photo strategy. When you’re on a downhill road, your best photos usually come after you slow down and stabilize your bike near the viewpoint. The stop locations are there for a reason, so use them. If you keep riding fast through the stops, you’ll get fewer good images and you’ll feel rushed.
A smart rider habit is to start calmly and then increase your speed gradually once you’re comfortable. It’s normal to get a little adrenaline early on. You’ll enjoy it more when you can still think clearly through traffic.
Who this downhill bike ride suits best
This is a strong choice if you:
- want a high-adrenaline downhill experience without hours of climbing,
- enjoy scenic stops and photos,
- are comfortable riding your own pace (since there’s no guide during the descent),
- have moderate physical fitness and can handle brief pedaling or walking a small uphill stretch.
It can work for older riders too. One account described the ride as manageable even at age 67, with the rider able to coast most of the way. That’s a hint that the main requirement is not athleticism, it’s comfort and bike control.
Where it may not fit as well:
- if you strongly dislike being near traffic with buses,
- if you have low confidence on downhill terrain,
- if you need frequent hands-on assistance once you’re rolling.
If you’re somewhere in the middle, you can still make it work. Go slow, treat safety as your first goal, and remember that you can walk the brief uphill section if you need to.
Should you book the Geiranger Sky to Fjord downhill bike ride?
I think you should book it if your vacation includes fjords and you want your day to feel like action, not just sightseeing from a bench. The mix of a long, dramatic descent, multiple named viewpoint stops, and included bike gear makes it a good value for the experience it delivers. The small group size also helps the day feel smooth.
Skip it or choose a different option if you are nervous about road traffic and do not want to ride unguided. Since the downhill is on shared roads, your comfort level matters more than almost anything else.
If you do book, do one thing that boosts your odds of a perfect day: arrive ready to take the safety instructions seriously and do a quick bike fit and brake check before you start down.
FAQ
How long is the Geiranger Sky to Fjord downhill biking adventure?
The experience lasts about 2 hours 30 minutes.
Is there a guide riding with you during the downhill?
No. The downhill ride takes place without the presence of a guide, though you do receive safety and technical instructions before you start.
What bike and safety equipment is included?
You get a bike, helmet, bicycle gloves, and a visibility vest.
Do they provide transportation to the biking starting point?
Yes. You travel to and from the biking location by air-conditioned vehicle.
Where do I meet, and where does it end?
The activity starts at Geirangervegen 10, 6216 Geiranger, Norway, and ends back at the same meeting point.
How far do you ride downhill?
You cover about 16 km during the downhill ride.
What physical fitness level do I need?
You should have a moderate physical fitness level.
What happens if weather is poor?
This experience requires good weather. If it is canceled due to poor weather, you will be offered a different date or a full refund.
Saddles Across Andalsnes
More Tour Reviews in Andalsnes
Geiranger From Higher Hairpins
Newest Andalsnes write-ups off our Norway desk
- Geiranger by Royal route, 5 hours with visiting a high-mountain farm
★ 5.0 · 3 reviews - Climb one of Norway’s Highest Indoor Climbing Wall
★ 4.5 · 3 reviews - Private tour Geiranger and Glaciers 1 to 15 people
★ 5.0 · 4 reviews - Double Kayak Rental in Geiranger (Excursions.no)
★ 4.5 · 4 reviews - E-bike and hike in Åndalsnes
★ 5.0 · 4 reviews - 3-Hour Kayak Tour in Åndalsnes
★ 5.0 · 6 reviews
More in Geirangerfjord Tours.
 ★ 4.6Geiranger: Dalsnibba, Flydalsjuvet, Eagle Bend & Fjords TourFrom $1152,329 reviews
 ★ 4.8RIB Geiranger – FjordsafariFrom $94807 reviews
 ★ 4.7Geiranger: Guided Geirangerfjord Boat TourFrom $88728 reviews
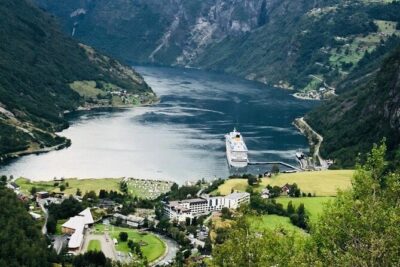 ★ 4.5Geiranger Shore Excursion: Mt. Dalsnibba and Eagle RoadFrom $129718 reviews
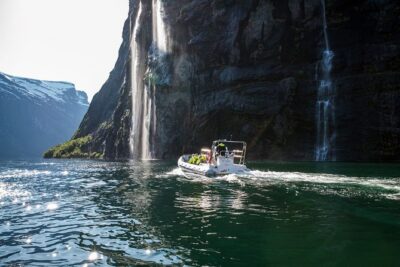 ★ 4.5Geiranger: RIB Fjordsafari GeirangefjordFrom $96651 reviews
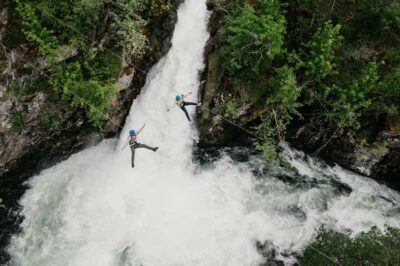 ★ 4.7Geiranger: Zipline Park ExperienceFrom $78328 reviews
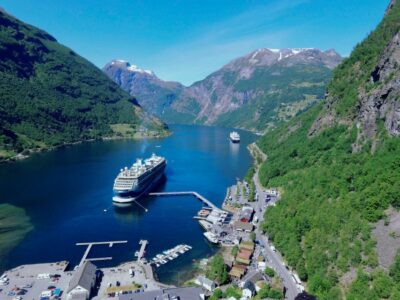 ★ 4.0Geiranger: Bus Tour with Multilingual Audio GuideFrom $78317 reviews
 ★ 4.7From Ålesund: Round Trip Fjord Cruise to GeirangerfjordFrom $205255 reviews
Lists this one sits in