
REVIEW · GEIRANGERFJORD TOURS
Geiranger: Rappelling tour with epic view
Rope, cliffs, and a view that steals time. This Geiranger adventure blends a rope-secured climb to Flydalsjuvet with a rappelling descent back down into town, so you earn your spectacular payoff. It is not a casual stroll, but it is built to help you feel steady step by step, with gear and guidance from the start.
I especially like how the tour keeps the group small, max 6, which makes the guide’s attention feel personal. The other big win is that you get a real training-and-descend flow, first practicing on an introduction wall, then heading for the bigger vertical rappels. One drawback: you do need some arm strength, because a few steep sections depend on rope clamps and your ability to pull and move confidently.
In This Review
- Key Points You Should Know Before You Go
- Where It Starts by Dynamite Waterfall
- The Steep Climb: Rope Clamps, Jumar, and Real Effort
- A practical way to think about the effort
- Flydalsjuvet Viewpoint: The Part You Travel for
- The Descent Plan: From Queen’s Chair to Rappelling Walls
- Two 50-Meter Rappels: Exposed, But Kept Safe
- After rappelling: back to the office and on to town
- Safety, Instruction, and What Your Body Needs
- What to bring (and what not to assume)
- Price and Value in Geiranger Terms
- Who This Tour Suits (And Who Should Skip It)
- Should You Book This Rappelling Tour?
Key Points You Should Know Before You Go
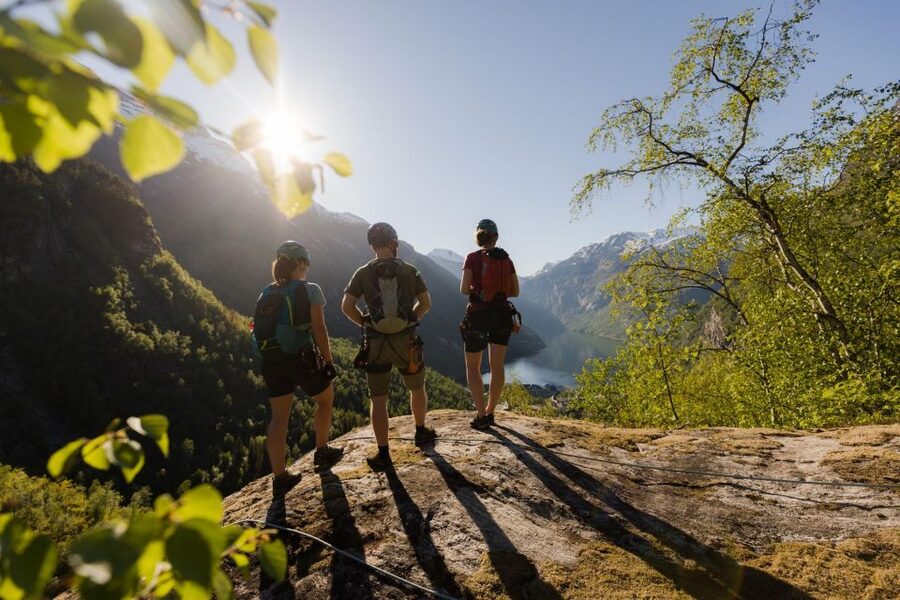
- Rope security most of the way, including help via rope clamps on the steep approach
- Aid climbing with a jumar, so you are not just free-handing the rock
- Flydalsjuvet viewpoint time when you are alone, meaning fewer crowds around your photos
- A “secret” photo path near the edge, guided to a unique self-shot angle
- You practice first, then rappel twice from about 50 meters, including an exposed, vertigo-friendly moment
Geiranger seen from higher hairpins
- Geiranger: Dalsnibba, Flydalsjuvet, Eagle Bend & Fjords Tour★ 4.6 · 2,329 reviews
- RIB Geiranger – Fjordsafari★ 4.8 · 807 reviews
- Geiranger: Guided Geirangerfjord Boat Tour★ 4.7 · 728 reviews
- Geiranger: City Sightseeing Hop-On Hop-Off Bus Tour★ 3.7 · 546 reviews
Where It Starts by Dynamite Waterfall
The tour begins at the Explore Geiranger guide office, next to the Dynamite Waterfall. If you are arriving from the harbor, plan about a 15-minute walk to the office. There is no transport arranged from the harbor, so do not count on a shuttle to save your legs before the hard part.
You will also get a safety brief before anything goes on your body. The good part is that the setup is orderly: equipment gets handed out inside the office, so you are not wrestling with gear while trying to figure out where to go. Once you step outside, you are basically on a short adventure “pipeline,” climb up, pause for viewpoints and photos, then descend by rappel.
The Steep Climb: Rope Clamps, Jumar, and Real Effort
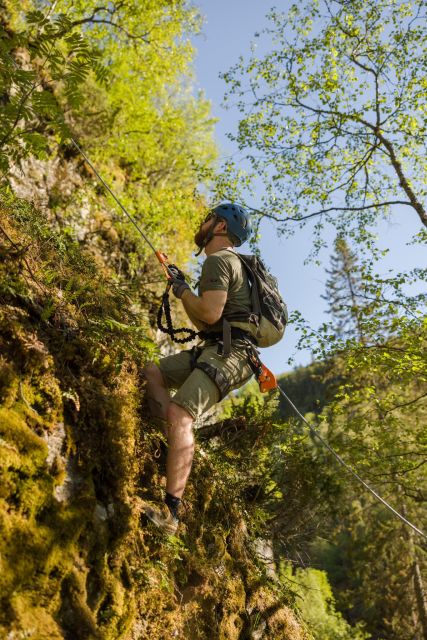
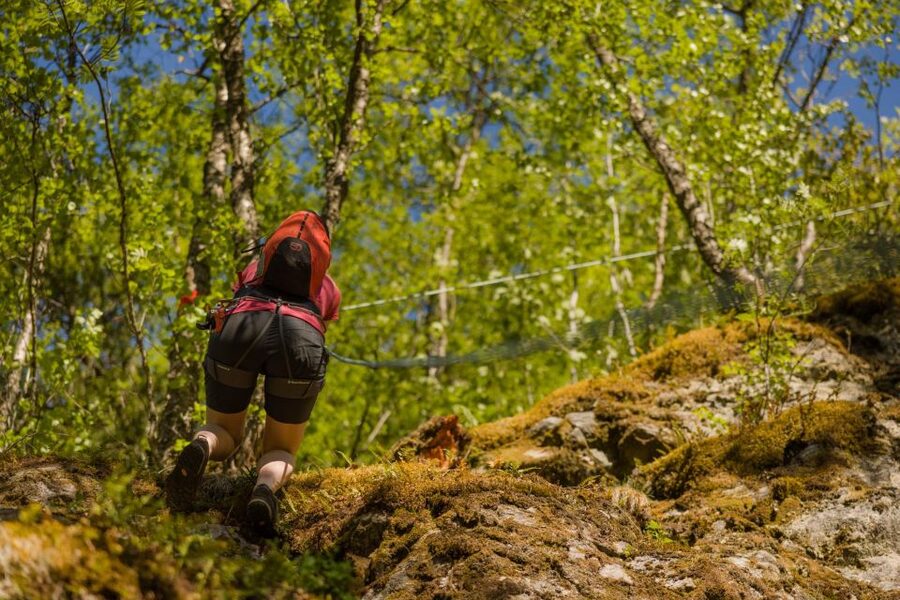
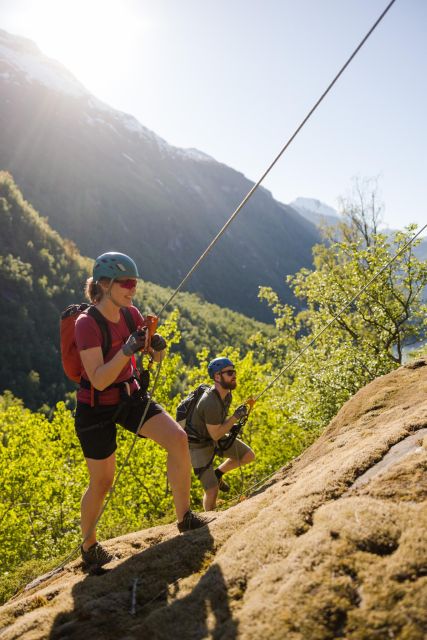
Most of the hike has rope security. That matters because the route is steep, and several sections rely on rope clamps to help you move up safely. You are not just sightseeing from a trail. You are actively climbing, using the ropes as support where the ground gets demanding.
The tour includes aid climbing with a jumar. In plain terms, that means you will use a mechanical aid device attached to the rope to help you ascend steeper parts without burning your legs or panicking mid-move. It is still physical work, though. You need enough upper body strength to pull and reposition yourself. The guide can coach you on foot placement and handholds, but they cannot do the climbing for you.
As you hike up through the deciduous forest, the view starts to open gradually. Then the Geiranger panorama hits in a bigger way midway through the climb. During peak summer, thousands drive to the canyon viewpoint each day. On this tour, the timing works in your favor. You spend that key viewpoint time when you can enjoy it without the same crush of people hovering inches away.
A practical way to think about the effort
If you can handle a steep hike and you are comfortable using both hands, you will be much happier. If you are expecting a light workout, you might feel surprised. The route is described as completely safe, but you still have to move, grip, and manage your body like you’re doing climbing practice, not a casual walk.
Rungs, cable and rock rivals scored nearby
Flydalsjuvet Viewpoint: The Part You Travel for
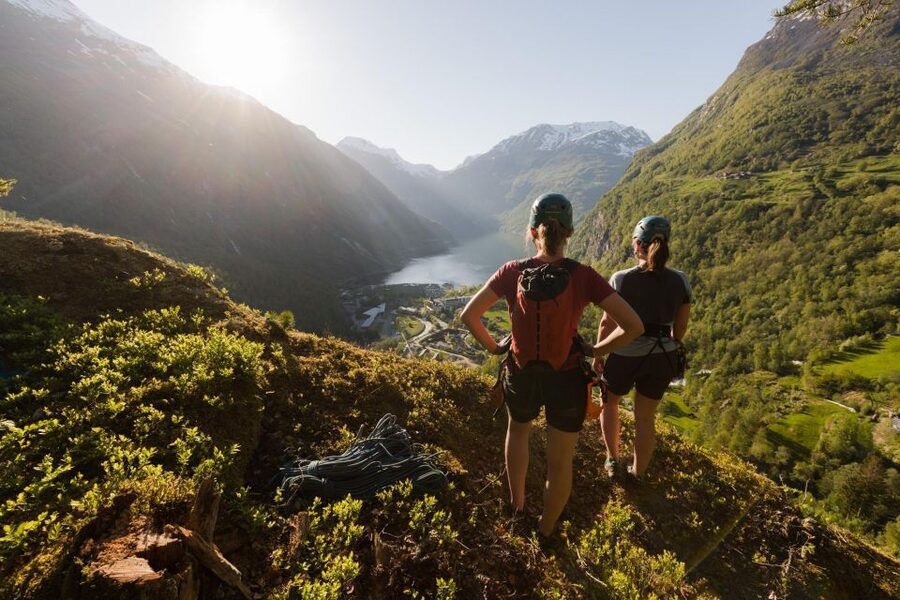
Eventually you arrive at the Flydalsjuvet viewpoint, the visual payoff built into the whole day. This is where you get the broad canyon perspective that makes Geiranger so famous. The big difference here is how long you get to actually look, and how you are guided to spots that give you better angles.
Your guide shows you a secret path to a unique photo location near the cliff edge, where you can get a very distinctive shot of yourself. You are not left to guess where to stand or how close is close enough. You follow the guide, take your photos, then take a breath and enjoy the view before moving on.
One of the smart things about this stop is the pacing. It is not just a quick look, snap, and go. You hike up, reach the viewpoint, then pause for rest. That gives you a moment to reset before the rappel training and the exposed descent.
The Descent Plan: From Queen’s Chair to Rappelling Walls
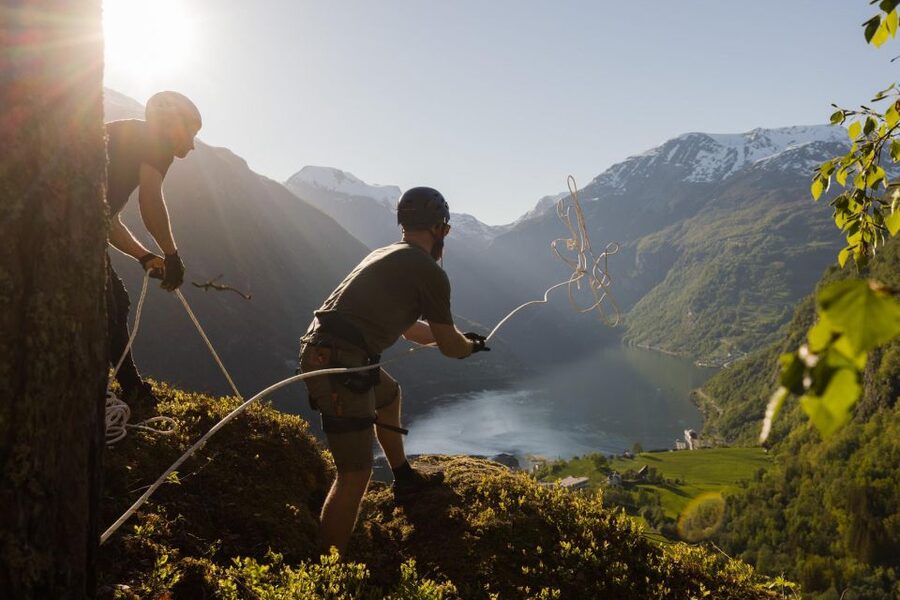
After the viewpoint break and photo time, the guide leads you back down. You will pass the Queen’s Chair on the way to the rappelling introduction wall. It is a helpful transition because it reminds you that the day is not only about going up. You are also learning how to come down safely and smoothly.
The rappel starts with an introduction wall, which is exactly what it sounds like. Everyone needs to master the equipment and basic rappelling technique before you go to the big vertical wall. That two-step design is a gift. You get used to the harness, the motions, and the feeling of being attached to a rope while still keeping things manageable.
This is where the group size matters again. With a group of up to 6, you can learn faster because your guide can watch and correct your technique. In one account, a guide named Phillip was praised for being patient and staying beside the climber who needed extra help with foot placement. That is what good instruction feels like in the moment, not just in hindsight.
Two 50-Meter Rappels: Exposed, But Kept Safe
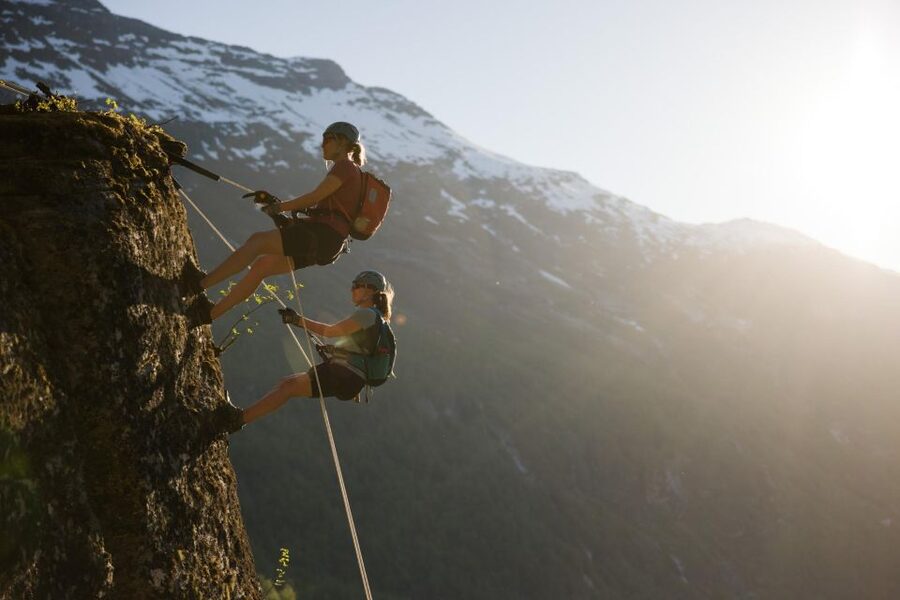
Then comes the main event. After the introduction wall, you move to the big vertical wall and do two 50-meter rappels. The tour description is very clear: it is completely safe, but it is exposed. That word matters. Exposed does not mean dangerous, but it does mean you feel the height, you see the drop, and your mind has to accept that you are descending on a rope.
Each rappel takes you down roughly 100 meters in total altitude by the time you reach the forest below. Your comfort level might hinge on one thing: not speed, but control. A rappel feels best when your movements are smooth and you trust the system.
If you have ever avoided high places because your body goes into panic mode, this is the kind of activity where training and clear coaching help a lot. Guides are there to make sure you stay safe and properly positioned. Still, your brain will have to do its part. Do not underestimate the emotional side of exposed rappelling, even if the technical side is well managed.
After rappelling: back to the office and on to town
Once you finish the last rappel, the route continues with hiking back. The final part follows a road back toward the guide office. From there, you are set up to head back into Geiranger at your own pace. In one review-style account, the return walk was described as a pleasant connection to town via waterfall stairs, but the core tour closes with the road link back to the starting area.
Safety, Instruction, and What Your Body Needs
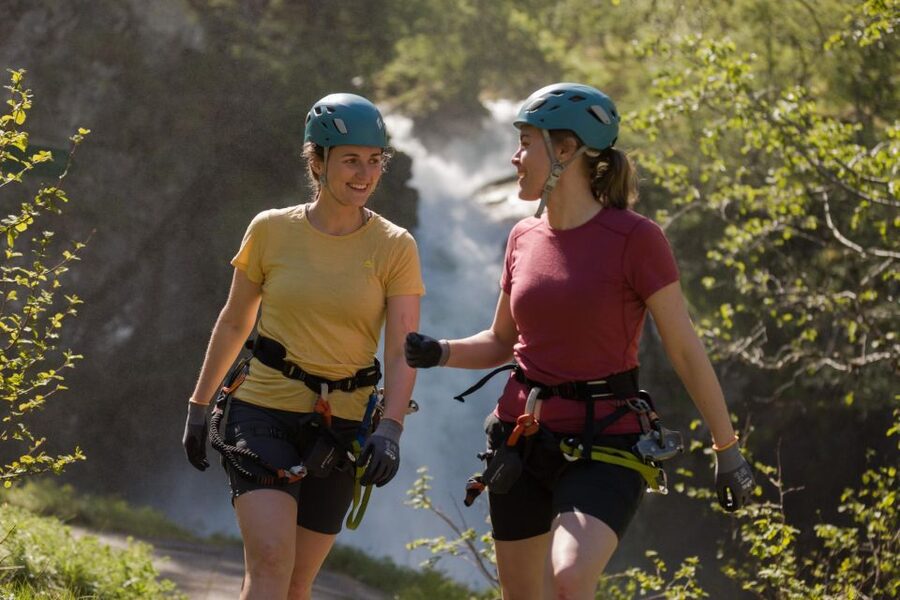
This tour is built on safety systems and coaching. You will be fully equipped and you will have rope security on much of the hike. You will learn the rappel technique on a training wall first. And instructors are present throughout to guide movement and check that you are positioned right.
That said, this is still adventure climbing. You need arm strength to manage steep sections and help yourself along where rope clamps support the ascent. If your upper body fatigues fast, pace becomes everything. Ask for tips early, like where to place your feet, when to reposition your grip, and how to use the jumar effectively.
What to bring (and what not to assume)
Sturdy hiking boots are a must. Gloves are required for rappelling. One practical note from an experience write-up: gloves can be purchased on-site for around $5 if you need them. If you want to avoid shopping last minute, bring gloves and save time.
Food and water at the start are not included. Plan to eat before you arrive, and bring a bottle if you want to be comfortable. In one account, water can be topped up mid-route, so the timing is not a total survival test, but you should still come prepared.
Price and Value in Geiranger Terms
At $146 per person for about 3 hours, this tour sits in the adventure niche where you pay for equipment, instruction, and a guide who controls the technical risks. It is not the cheapest way to spend a morning in Geiranger, but it is also not just a guided viewpoint.
Here is what you get for the money:
- A small-group climb with rope security and aid climbing support
- A guided route to the Flydalsjuvet viewpoint with time to rest and take photos
- Training and then two 50-meter rappels on a controlled system
- All the gear, plus instruction in English
For value, the key question is whether you want your Geiranger experience to be active and memorable, not passive. If you are the type who enjoys learning a skill and testing yourself with a guide nearby, the price starts to make sense fast. If you only want scenery and you get uncomfortable with heights, it might feel steep for what you will enjoy.
Also consider that the tour maxes at 6 people for 1 guide. In a place where crowds can be intense, that quieter, guided focus is part of the value.
Who This Tour Suits (And Who Should Skip It)
This tour is listed as not suitable for children under 12, people with heart problems, and anyone over 243 lbs (110 kg). That is worth taking seriously. If you fall into one of those categories, look for a different Geiranger option that matches your comfort and safety needs.
Who tends to love it most:
- Teens and adults who can handle a steep hike
- Anyone who wants instruction-based adventure, not solo risk
- People who like photography and want guided access to a cliff-edge photo spot
If you are traveling with mixed comfort levels in your group, you can still plan around it. One family-style write-up praised a guide named Simona for patience with kids and encouragement for older teens. The takeaway is that good instruction helps people push past nervous moments, especially when the climbing and rappelling steps are taught clearly.
Should You Book This Rappelling Tour?
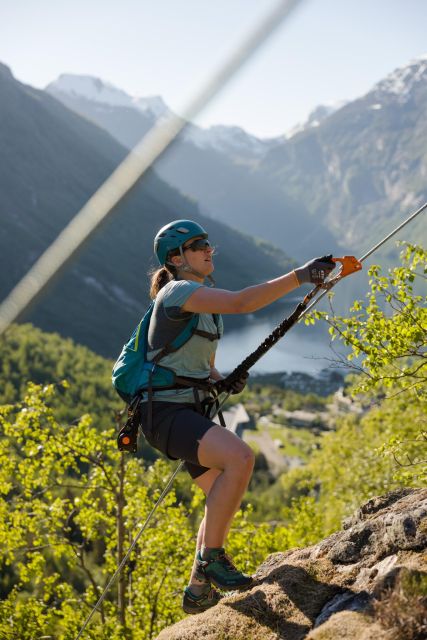
Book it if you want a Geiranger day that feels hands-on and unforgettable, where you climb with ropes, reach Flydalsjuvet with real breathing room, then rappel down two major drops with professional guidance. You should also book if you are willing to do physical work, because this is not just a view hike.
Skip it if you are looking for something easy, or if heights make you freeze even when safety systems are in place. The technical parts are controlled, but the exposure is real. And if you do not have much arm strength, some sections may feel more challenging than you expect.
One more practical reason to feel confident about timing: the tour is offered with English instruction and you can choose a start time based on availability. If you want flexibility, the experience offers free cancellation up to 24 hours in advance and reserve now, pay later options, which makes planning easier when weather and schedules get messy.
If you are ready to turn Geiranger from a postcard into a skill-based adventure, this one is hard to beat.
More Tour Reviews in Geiranger

Rungs, Cable and Rock
Geiranger From Higher Hairpins
Newest Geiranger write-ups off our Norway desk
- From Geiranger: Dalsnibba & Eagle Road Private Tour & Picnic
★ 5.0 · 4 reviews - Geiranger to Ålesund Bus Tour (one way)
★ 4.3 · 4 reviews - Geiranger: Rappelling tour with epic view
★ 5.0 · 6 reviews - Hellesylt-Geiranger Sightseeing (one way ticket)
★ 4.0 · 7 reviews - E-bike Tour in Geiranger, Norway
★ 4.8 · 81 reviews - Geiranger Fjord Boat Tour with Waterfall Tasting
★ 4.4 · 98 reviews
More in Geirangerfjord Tours.
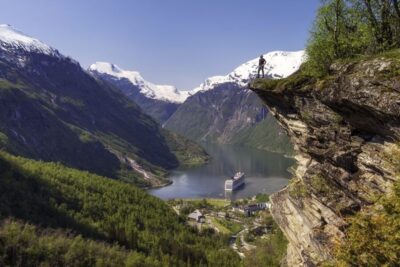 ★ 4.6Geiranger: Dalsnibba, Flydalsjuvet, Eagle Bend & Fjords TourFrom $1152,329 reviews
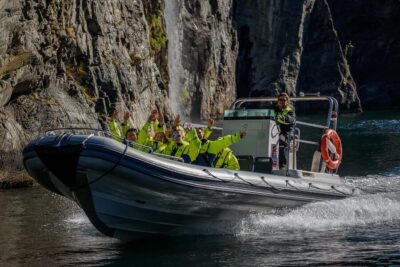 ★ 4.8RIB Geiranger – FjordsafariFrom $94807 reviews
 ★ 4.7Geiranger: Guided Geirangerfjord Boat TourFrom $88728 reviews
 ★ 4.5Geiranger Shore Excursion: Mt. Dalsnibba and Eagle RoadFrom $129718 reviews
 ★ 4.5Geiranger: RIB Fjordsafari GeirangefjordFrom $96651 reviews
 ★ 4.7Geiranger: Zipline Park ExperienceFrom $78328 reviews
 ★ 4.0Geiranger: Bus Tour with Multilingual Audio GuideFrom $78317 reviews
 ★ 4.7From Ålesund: Round Trip Fjord Cruise to GeirangerfjordFrom $205255 reviews
Lists this one sits in